 As most of you know, I have absolutely NO cabinetry skills. None. Zilch. I have always wanted to learn, but never took the time. Over the past few weeks, I have learned a lot. I brought one of the upper cabinets that we salvaged out of another bus conversion into the house to analyze and study for a while. I finally decided to take it apart. The younger kids were thrilled to help me out.
 Luken and Ryan dismantled the hinges from the doors and the cabinet. Simon gathered up screws, hinges, and made a pile of doors.
 Simon was determined to unscrew something….anything….and he finally did, with a bit of assistance. He is such a little cutie. 🙂
 Once we got it all taken apart and the front taken off, I started thinking that I might actually be able to use the skeleton, after all.
 Ryan insisted upon helping me carry it out….such a tomboy (have no idea where it comes from).
 After getting it out there, I was pleased to see that it would be perfect, once I cut off the tops of the curved pieces and the end an inch or so. The next day, I had Ethan come out to help me cut it down and attach it. I was happy to have Mitch show up, as it was still a little bit difficult for Ethan and I to hold it up and try and screw into the steel. I really need to work on my upper body strength.
 I was happy to see that we could use some of what we had salvaged.
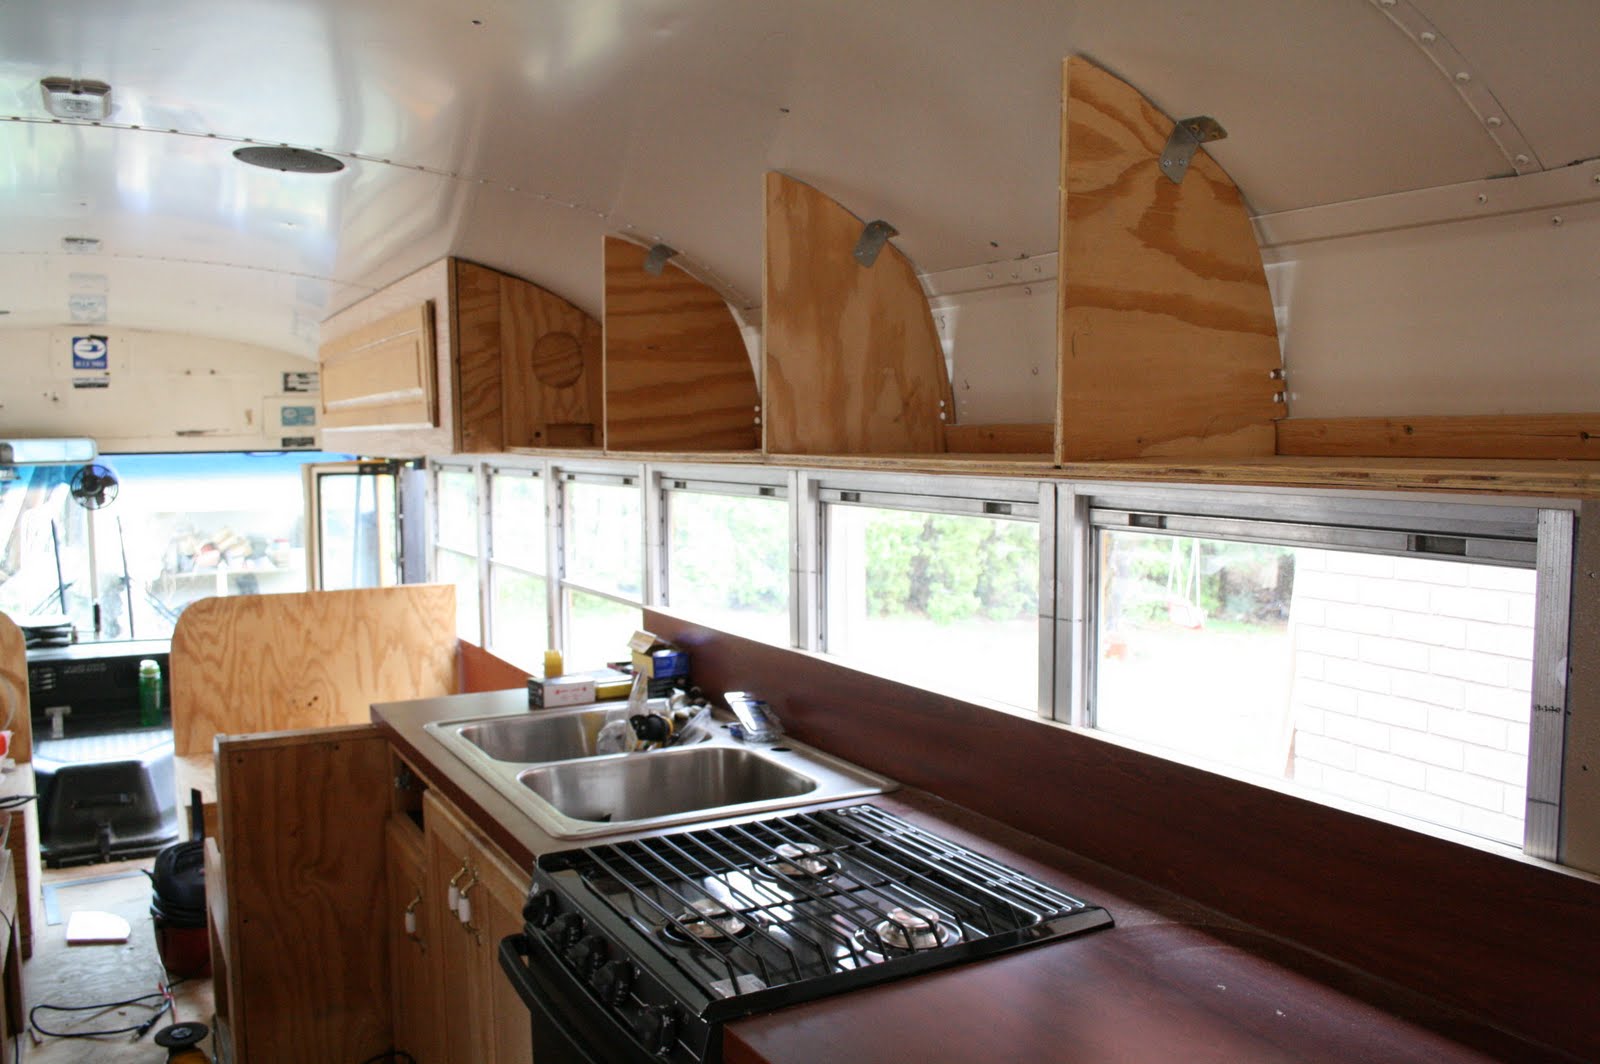 I reinforced at the tops of the curved pieces with L brackets, just to make sure it could hold all of the weight. It is also attached to the side of the bus and the other cabinet we already secured above the curbside dinette.
 That weekend, Mr. C and I began brainstorming and asking our fellow Skoolies how they figured out their wall templates. There were many suggestions, but we finally came up with our own plan (I’m sure others have used it before us, but it felt good thinking it up on our own….hehehe). We measured from the floor to the ceiling, every 3 inches and wrote down the measurements. Then we found a piece of salvaged wood paneling (really ugly wood paneling) and began marking her up.
 We put tape on the end before cutting (to decrease the chance of splintering along the edge) and used the jigsaw to cut the curve.
 I took the other cardboard template that I had used for our first kitchen upper cabinet sides and adjusted it for the area where the wall would be going in (in between the cabinet above the counter top and the fridge compartment).

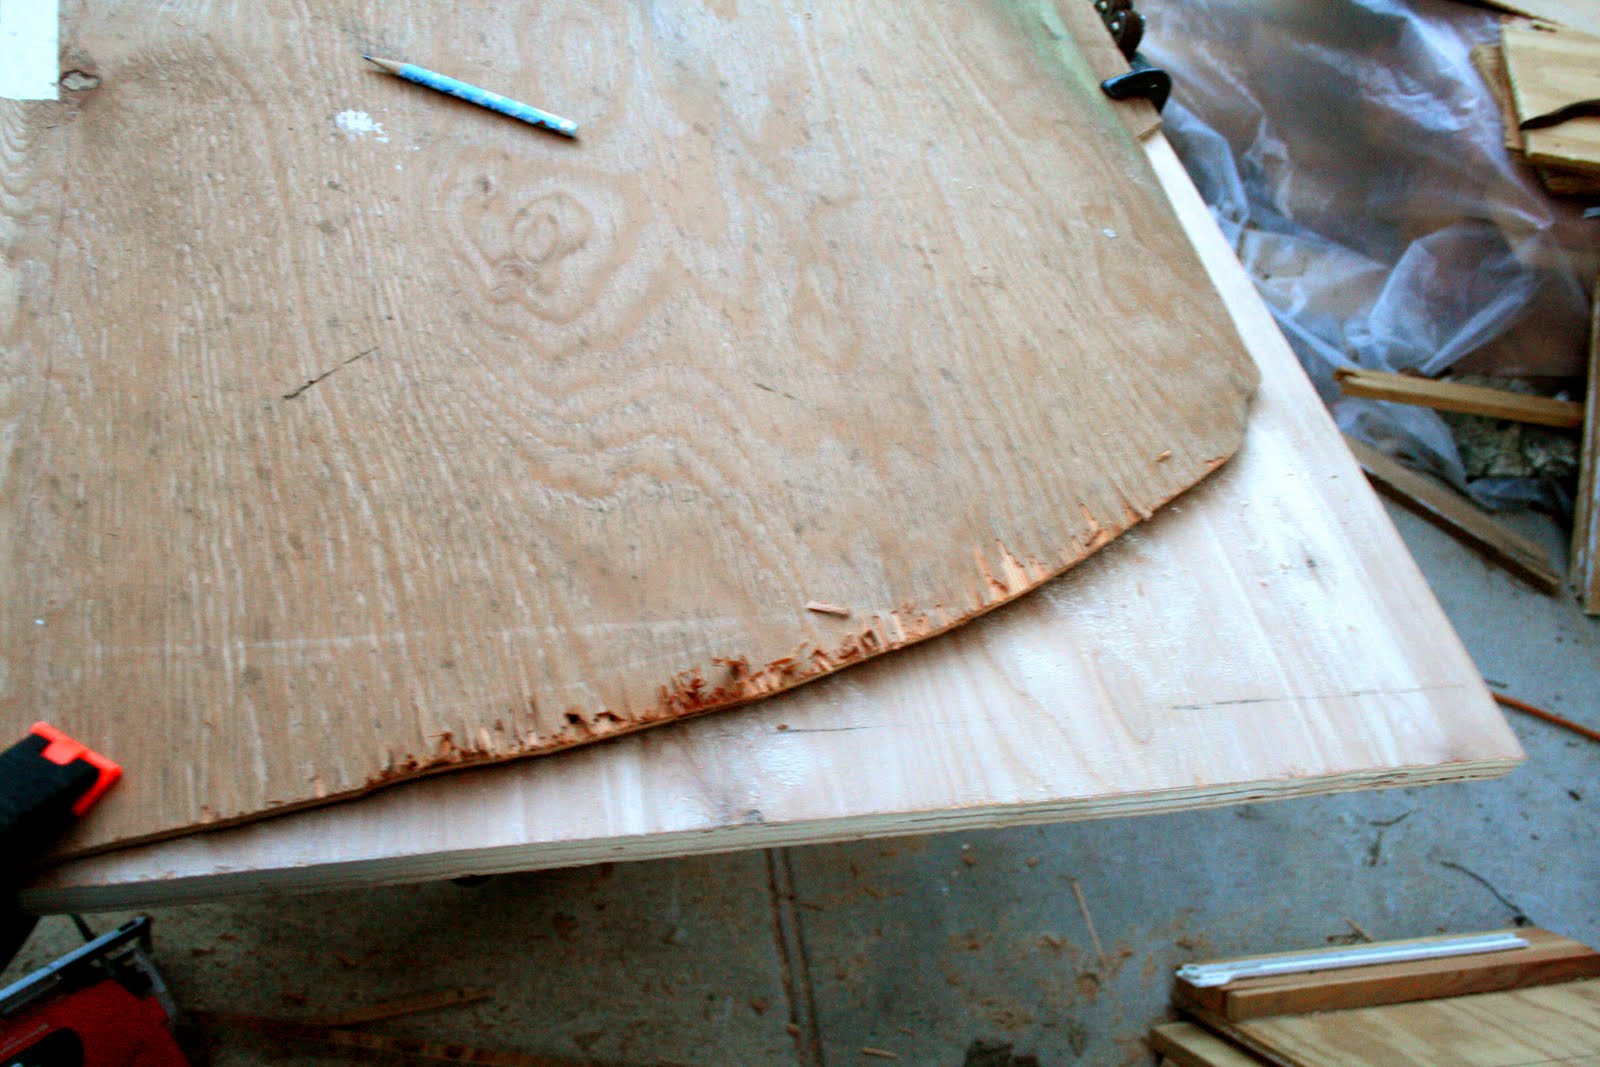
 We traced that template…
 and Mr. C cut it as close as he could. It took a few more cuts, and then…
 …it fit!
 We clamped the template to our beautiful piece of 5/8″ veneer plywood (I scored it for around $8 a sheet, which was awesome because it runs usually around $45 a sheet at the hardware store here).
 We lucked out with our first wall, it only took a couple of little alterations to get it nice and snug and we were done.
 The next day, I went out to secure it, and my trusty helper was Luken. He is adorable isn’t he? He was quite impressed by the magnetic screwdriver.
 I secured the wall to the ceiling, the wall, the upper cabinet and the cabinet below.
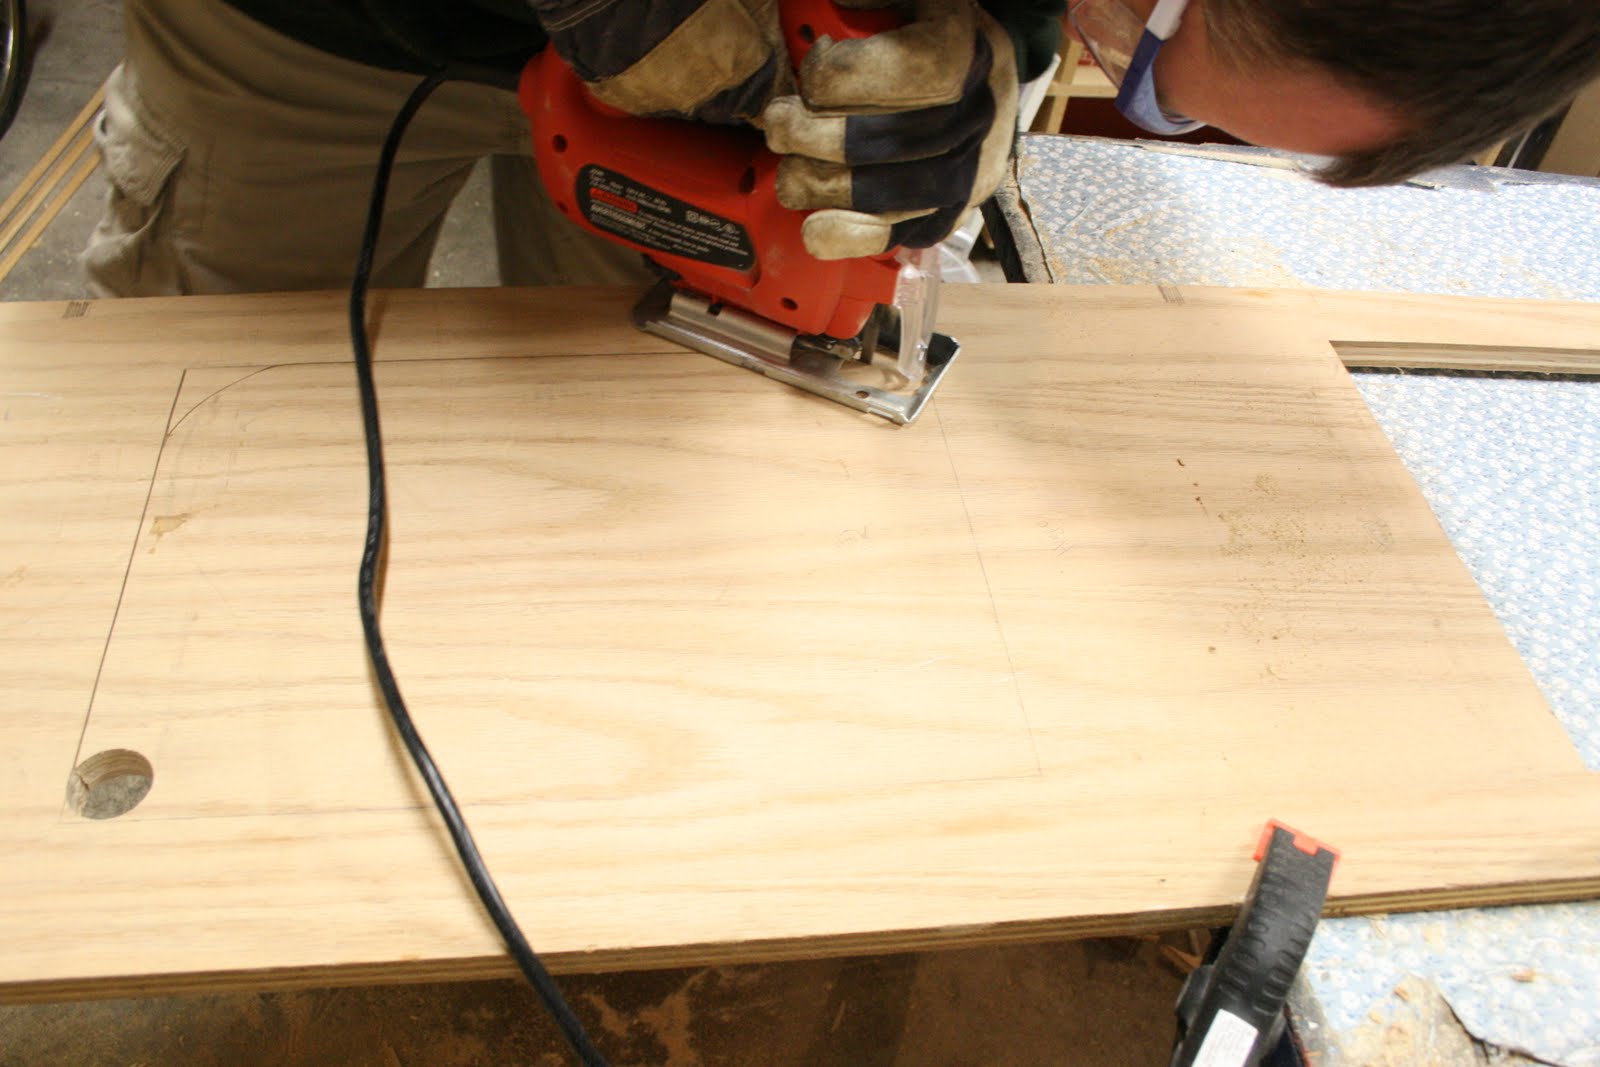
 The next day that we had to work together, Mr. C and I cut out the front for the upper cabinet. We bought a new circular saw from Harbor Freight and it worked okay, but it was still difficult to get it to drop down in and cut without it throwing back, so we ended up using our trusty jigsaw. The cuts aren’t perfect, but I kind of like that. I am going to keep the pieces of wood that we cut out for the kids to use for writing/Lego/activity boards….after I sand and finish them up nicely.
 We drilled holes and then cut back along the lines after finishing each side of the openings we cut out (and when I say “we”, I really mean Mr. C….he cut it all up himself).
 It worked.
 The next day, after we attached the front, we began working on the other wall that would be more for aesthetics, than function. This is the wall that will house the washer/dryer and stand behind the street-side dinette. I decided to put a wall here, to hide the washer and dryer and to have a place to hang all of the posters that I seem to enjoy using for homeschool….I am a visual learner, myself. What can I say?
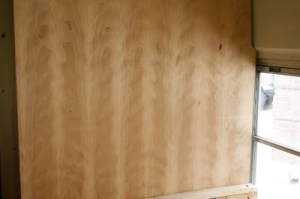 I absolutely LOVE LOVE LOVE this piece of wood. Well, I love wood, in general, but this piece just sang a beautiful song to me when I picked it up for next to nothing from someone online. I was so excited to use it somewhere that it will be seen often. When we were measuring it, before we cut, I had to take a moment to plan it out, so that its unique and diverse grain would be able to be seen, despite the dinette and the upper cabinet resting against it. I was pleased with the results….although we weren’t as lucky with the cut of this wall. It took a while to get it to fit snugly. When I am done with the main construction, I will come back and stain all of the wood different colors and add corner moulding and trim. I can’t wait for that part. 😀
 Isn’t it lovely?
 Even though I am inadequate at it, I still love building. It is therapeutic for me, similar to gardening, crocheting, and reading a great book. I also find myself constantly reminded of the fact that none of my items are completely dependent upon or independent of each other. It is glorious to think that they all kind of rely upon each other a little bit, and, in the process, they are all becoming extremely strong. How’s that metaphor for you?
Pura Vida!
